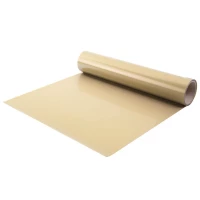
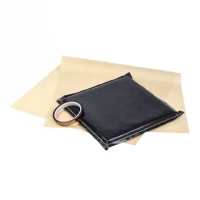
Self-adhesive plastic foil - separated foil
To achieve this result, we recommend following this guide:
Installation guide for self-adhesive plastic film
Cleaning: Always clean the surface thoroughly for grease, dust and glue residues (possibly from previous signs). Use a powerful cleaning agent that does not damage the surface, remember to test on a smaller surface inside. Note that the detergent should not leave any fat residue, do this, polish with a clean cloth, if necessary. A microfiber cloth until all fat residues are gone.
Mounting: Mounting temperature: min. 8 degrees, the colder the foil may have problems with sticking. Alternatively, you can, for example, raise the inside temperature of the car when installing at a lower temperature. Note that foil must not be mounted in direct sunlight.
Mounting fluid: Mounting fluid in atomizer syringe is only used on larger surfaces (typical background foil) to prevent air bubbles from forming and reduce adhesion so that the foil can be placed correctly. Mounting fluid is sprayed onto the surface as well as on the self-adhesive foil so that it forms like drops (avoid making runners).
We recommend the following mixture: 1 liter of water, mix with 1 drop of detergent. If you assemble in winter, use 1 teaspoon. alcohol, as it may otherwise freeze to ice. Possibly. Can you use lukewarm water as this evaporates faster NOTE: If you just mount separated letters below approx. 20cm in letter height, no soapy water is used.
Air bubbles: Should air bubbles occur during assembly, you can dot a hole with a needle or a very sharp knife and then push out the fluid / air.
Do not drive more than 80km / h. the first week if you have just put a foil of soap water and do not drive the car in the laundry room the first week after installation.
7 STEP GUIDE TO FOIL INSTALLATION:
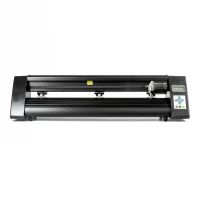
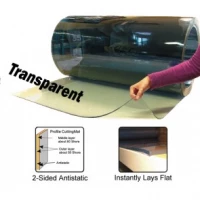
- 1. You must use a sign incl. transfer sheet mounted and plastic scraper
- 2. Scratch the sign on the transfer sheet (press firmly on the foil so that the air disappears between the plastic letters and the transient transfer sheet.
- 3. Turn the sign over and pull the paper from the transfer foil
- 4. The sign is now ready for placement on the subject. Please note. with a white board marker where the sign is to be mounted based on certain specific goals.
- 5. Turn the sign so that the self-adhesive foil hits the blank and slips with a plastic scraper from the center.
-
6. Scratch the sign so there are no air bubbles in the plastic foil. Then carefully remove the transfer sheet.
The letters may seem to be somewhat loose at first, but as the adhesive surface cures, they will be significantly better.
Typically hardened time is 2 weeks.
- 7. The sign is now mounted and holds mine. 5 years outdoor (Oracal 651) and forever indoors.
If you have questions or anything else, please contact us at +45 70 70 22 25