Quick Links
- LIVE problem in WinPCsign
- WinPCSIGN: bold text
- WinPCSIGN: Clipart import
- WinPCSIGN: Installation
- WinPCSIGN: Creates Layers and does not cut properly
- Puma & Jaguar cutting plotter with WinPCSIGN support
- Split text / figures into WinPCsign
- Import new fonts inside WinPCsign
- Problems with double-streaks or letters that are written on top of each other
1: EYE problem in WinPCSIGN
Many people experience problems writing ÆØÅ in WinPCsign, and this is because the program is produced outside the EU and is therefore not configured as standard with ÆØÅ setup, but it can easily be corrected. By clicking FONT, select TRUETYPE and a European font, and you can write again EYE.

2: WinPCSIGN: bold text
This Guide shows how to create Buet text in WinPCSIGN
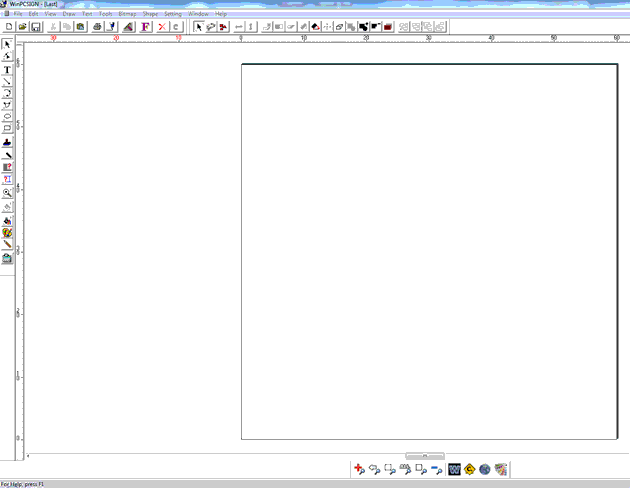
1. Open WinPCSIGN Pro.
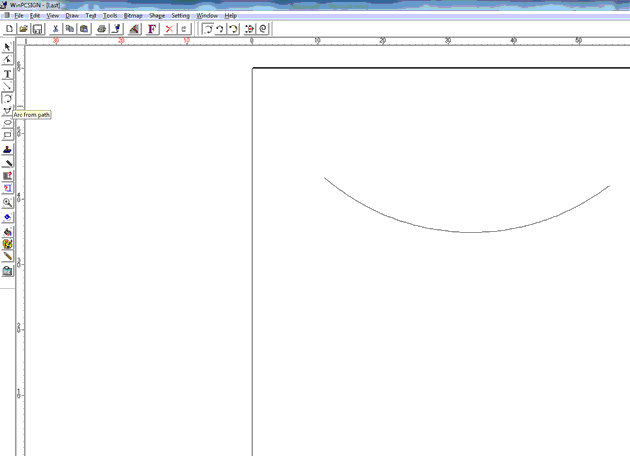
2. Select the tool "Arc from path" in the toolbar on the left side and draw the curve that you want the text to be in.
3. Type the text with the "Text" tool and select the arc as well as the text at the same time and click on the "Text" tab and select "Fit text to path".
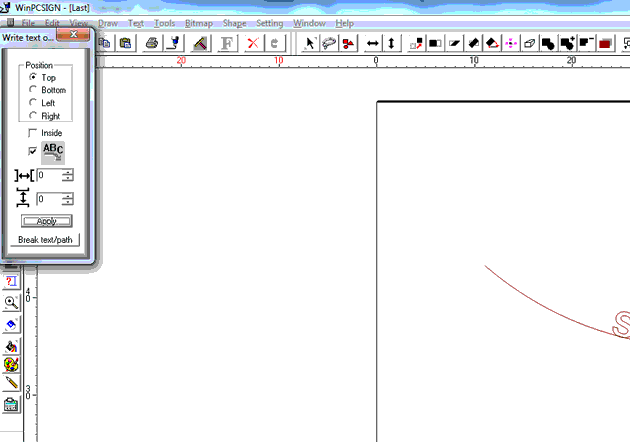
4. Then click "Apply", the text will now be added to the arc. To remove the arc, click on "Break text / path" and select the arc to delete it.
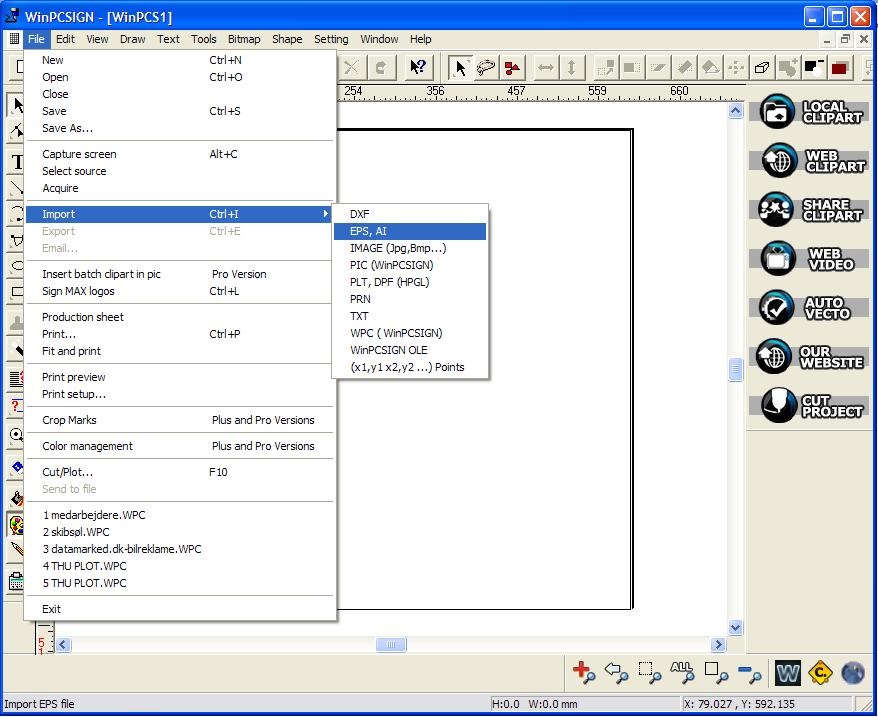
3: WinPCSIGN: Clipart import
When using the vector files (clipart) from ex. hotflames clipart disc, simply insert the disk into the machine, enter WinPCSIGN, select the menu "File" and select the menu item "Import", then "EPS, AI" and then find the files you want to use on the CD and the will then be imported
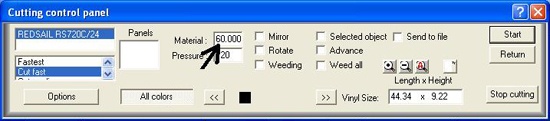
5: WinPCSIGN: Creates Layers and does not cut correctly
When printing from WinPCSIGN, the text must be in the lower left corner. The default setup in the program is set to make Panels / Layers for every 12 mm. This should be changed so that there is the width of your cutting plot, for example. 600 mm, 1200 mm or 1700 mm. (See illustration in the picture)
If the expected result still does not appear, there may be an error in the port setup,
see our instructions under item 3 i - Cutting Plotter / Heat Presser Katagorien below
"There is no connection to the cutter from the software"
If the communication with the cutter is done through a USB to SERIEL converter,
that you follow our Port Settings Manual on the "Installation" page in the submenu and then find the point:
"Installing USB to SERIEL Converter"
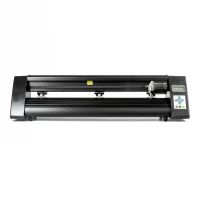
6: Puma & Jaguar cutting plotter with WinPCSIGN support
We can only get the plotter to print up to 95 cm - not to the 120cm - how do we change it?
It may be the following:
- The location of the cut-out item in the program
- The zero point of the cutter must be moved and confirmed
- The zero point is limited by the foil clamp, so move it completely to the right side
- Move the foil all the way to the right side (1cm from the edge) and restart the machine and press the arrow up to set the zero point on the right side.
- I changed some places to mm instead of cm and made a 'boot box' to 1200mm x 1200mm - but then it will print in panels - why?
Make sure you have not set the work area to 1200cm * 1200cm, but otherwise you should change "Materials" to 120cm if you work in cm
We can see the pressure from the feeding feet on the foil - if the foil has not been used for a while - should you?
Yes, it can not be avoided, but it will disappear over time
What to do if there are more layers behind each other after importing file or vectorization?
1. If there are more layers, remove the top layer with the cursor and use the next
When I import an EPS file, the items are locked. Found out of the small icon with 2 squares and then the elements are separated. Is it that
right way to move / collect text so we can have as much as possible on the foil?
1. Yes, alternatively, it should be done in illustrators with 1 file for each item
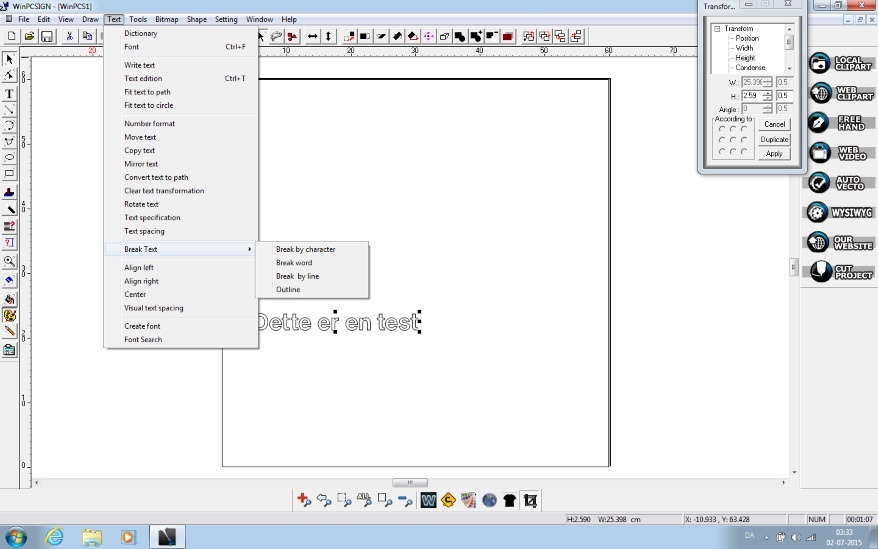
7: Division of text / figures into WinPCSIGN
Text / Figures are divided as follows: Go to the Text menu> Break Text> Break by character
8: Import new fonts inside WinPCsign
There are several places on the web where you can find fonts, but for example. dafont.com has a lot of font types.
When you find the desired font, press download. Then it will lie on your computer.
Depending on whether you have an Unzip program or not, the file must be extracted first.
When it is, double click on the file and press installer. Now the font will be in your WinPC sign.
9: Double-letter or letter problems that are written on top of each other
Press W in the bottom toolbar - The contour lines will now appear
Go to the TOOLS - Welding - Welding plus
Used best with text, but can be used for images relative to double lines, however, colors may disappear in Weldingen. Be aware of it.