Launch of the program
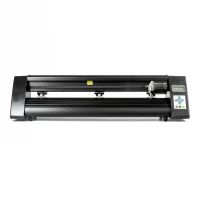
When Easycut v.6.0 is booted, this screen will appear:

The center of the screen is the work area where you place the items that you want to cut out. Note that you can always right-click the workspace to make it active.
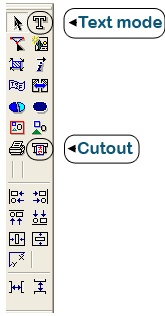
Text Mode, FontSetting:
Use this button to drag a text item to the work area. First click the button and then click an empty area in the workspace to create a new text.
Then type the text you want to cut out.
Keep in mind that you can change the font and appearance as in a word processor.
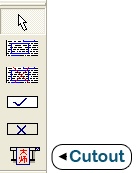
Cutout, Redraw: Once you have designed it to be cut, click this button to prepare the cut.
You are now entering a window where you click the Cutout button in the toolbar on the left side of the screen.
Your screen now looks like the following:
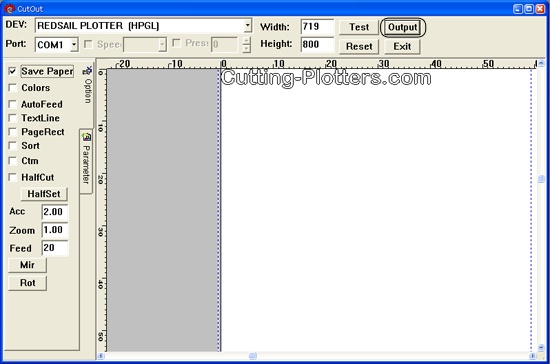
When you click "Output", the cutter will start.
If the cutter does not run, check the following:
1. The cutter should light green when it is Online
2. Check that the cables are properly installed
3. If you have never used your serial port before and are not sure it works, try it on another machine
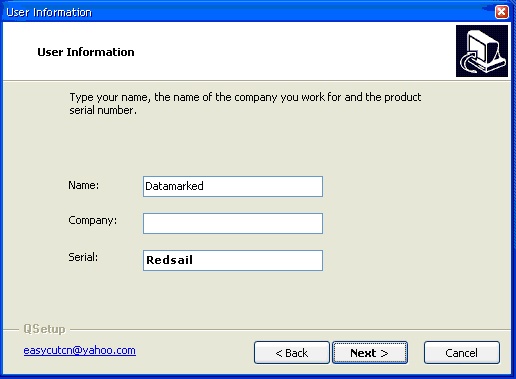
2: During the installation of Easycut, a code must be used, what is this?
Easycut Installation CD contains a text document called Readme.txt. If you open this text document, you can see the code that you will use for Easycut.
Below is the Easycut setup program:
3: How do I install Easycut and how do I use it?
If you need Easycut 6.0, you can download it
For PC
For MAC